The state of the editor includes:
Empty State:
To create a controller with empty state:
const controller = EditorController.emptyState();
By default, you don't need to create the EditorState yourself unless you want to use the state without the editor(Such as running on a server).
Default state:
The controller will create an EditorState for you.
const controller = new EditorController();
The state instance can be accessed from the editor and the controller.
For example:
editor.state; // get access to the state.
controller.state; // get state from the controller
There are two ways to update the state.
The EditorController provides the high-level API.
The Changeset provides the low-level API.
If you want to dump the document tree to JSON, you can use the utility in serialize namespace.
import { serialize } from "blocky-core";

console.log(serialize.serializeState(editor.state));
The document tree is read-only. It should be regarded as immutable tree.
If you want to mutate the tree, you need to apply changeset to the state.
For example:
new Changeset(this.editor.state).appendChild(container, child).apply(); // append child
new Changeset(this.editor.state).removeChild(container, child).apply(); // remove child
When apply is called, the changeset will be applied to the editor. At the same time, the changeset will be logged and transmitted.
The methods of Changeset:
BlockyNode.Text block, the propName is usually called textContent.EditorState.
The editor will render automatically after the changeset is applied.The tree of the document is assembled with BlockyNode.
Every node has a nodeName corresponding to the nodeName in XML.
BlockyElement is a kind of BlockyNode,
which can store attributes:
class BlockyElement implements BlockyNode {
  getAttribute(name: string): string | undefined;
  firstChild: BlockyNode | null;
  lastChild: BlockyNode | null;
  childrenLength: number;
}
The text model of the blocky editor is implemented by quill-delta.
export class BlockyTextModel implements BlockyNode {
  get delta(): Delta;
}
You can the the compose method to submit changes. For example:
import { Delta } from "blocky-core";

changeset.textEdit(textNode, () => new Delta().insert("Hello world")).apply();
changeset.textEdit(textNode, () => new Delta().retain(4).delete(1)).apply(); // delete 1 char at the index 4
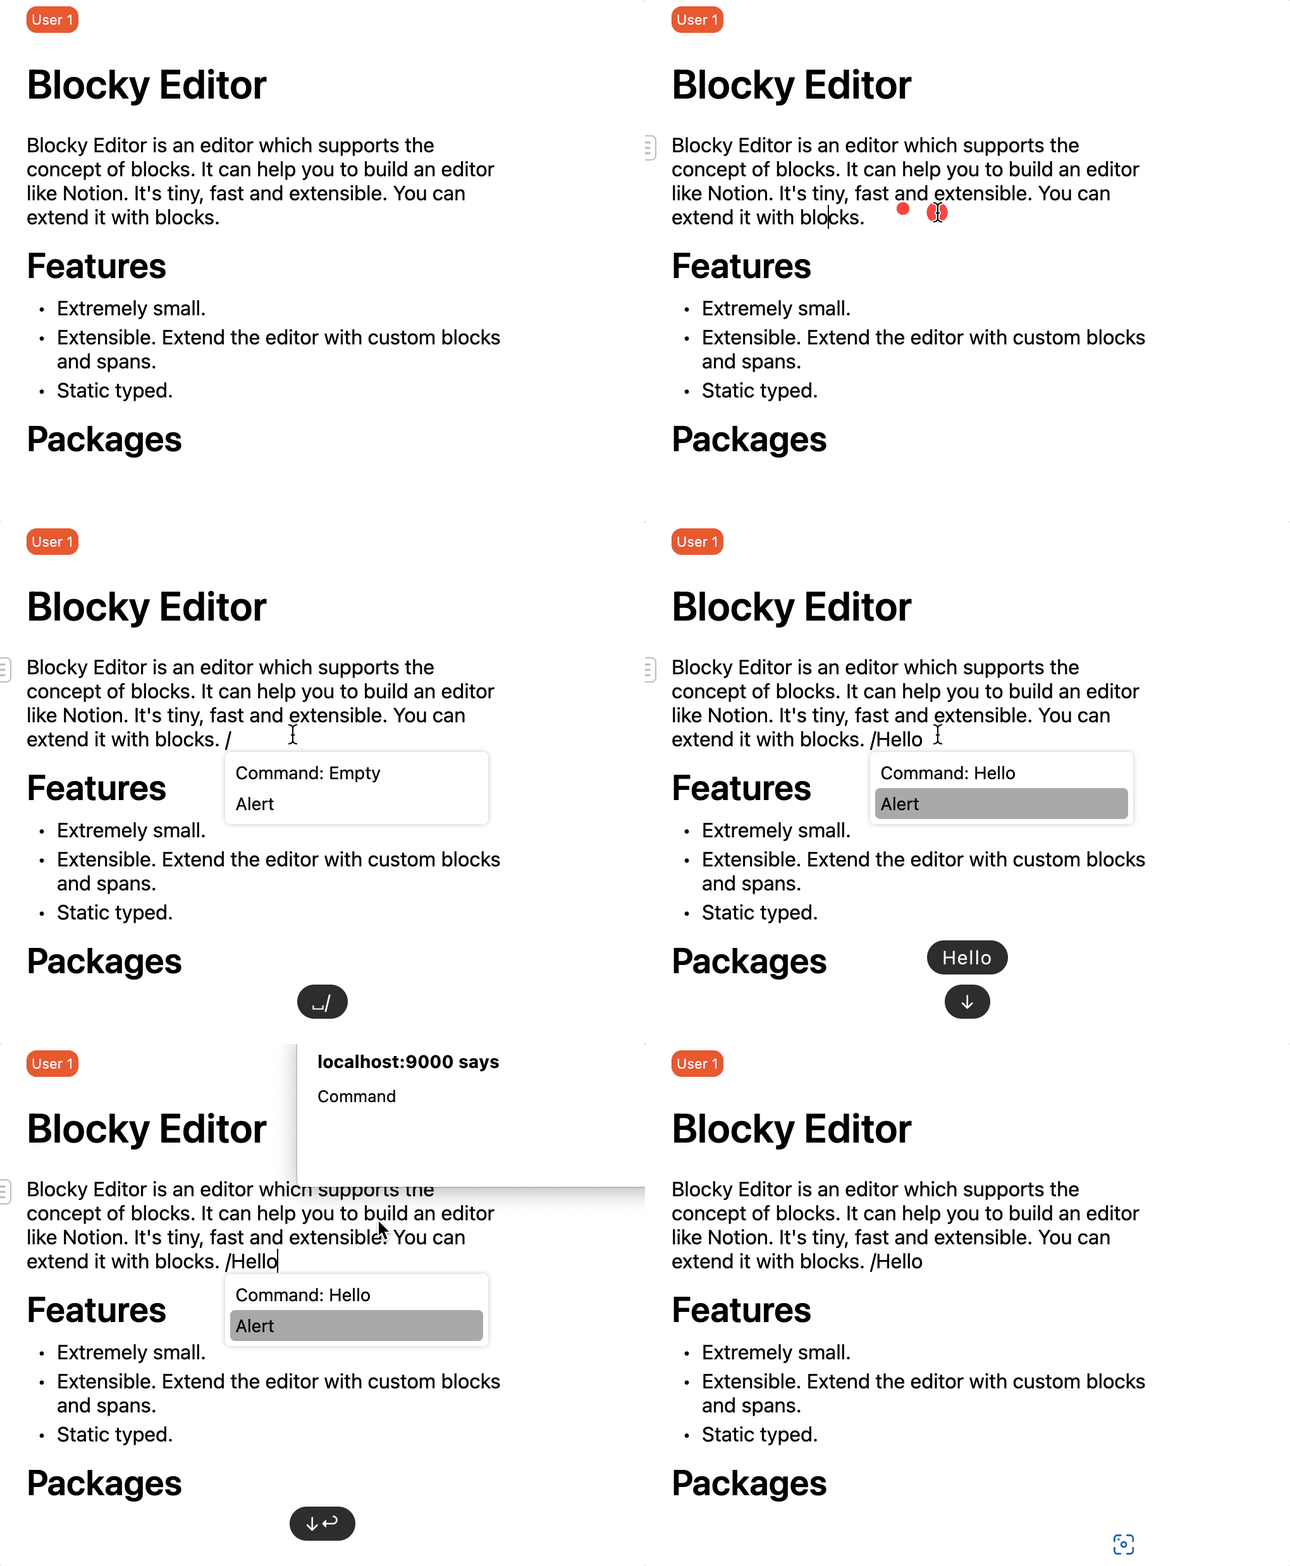
A follower widget can follow the cursor when the user is typing. You can implement features such as a command panel or autocomplete through the follower widget.

When the widget is inserted, it will follow the cursor automatically until the user changes the cursor manually. If you want to unmount the widget, call the dispose().
When the user begins to type, the content will be passed to the widget by the method setEditingValue. You can override this method to update your view.
As usual, there are two ways to implement a follower widget: using the raw API or using Preact.
Use the method makePreactFollowerWidget.
import { makeReactFollowerWidget } from "blocky-react";

editor.insertFollowerWidget(
  makeReactFollowerWidget(({ controller, editingValue, closeWidget }) => (
    <CommandPanel
      controller={controller}
      editingValue={editingValue}
      closeWidget={closeWidget}
    />
  ))
);
Extend the class FollowerWidget.
import { type EditorController, FollowerWidget } from "blocky-core";

export class MyFollowWidget extends FollowerWidget {
  override setEditingValue(value: string) {
    this.editingValue = value;
    // implement here
  }
  override widgetMounted(controller: EditorController): void {
    super.widgetMounted(controller);
    // implement here
  }
  override dispose(): void {
    // implement here
    super.dispose();
  }
}

editor.insertFollowerWidget(new MyFollowWidget());